What is the Blower Door Test?
Definition and Purpose
The blower door test is a diagnostic tool used to measure the airtightness of a building. By determining how much air leaks through the building envelope, it assists in assessing energy efficiency levels and indoor air quality. The primary purpose of the test is to evaluate how effectively a structure can resist air infiltration and exfiltration, revealing weaknesses in its thermal envelope. This information is vital for making informed decisions on insulation and sealing strategies, ultimately supporting energy conservation efforts and enhancing occupant comfort.
How It Works
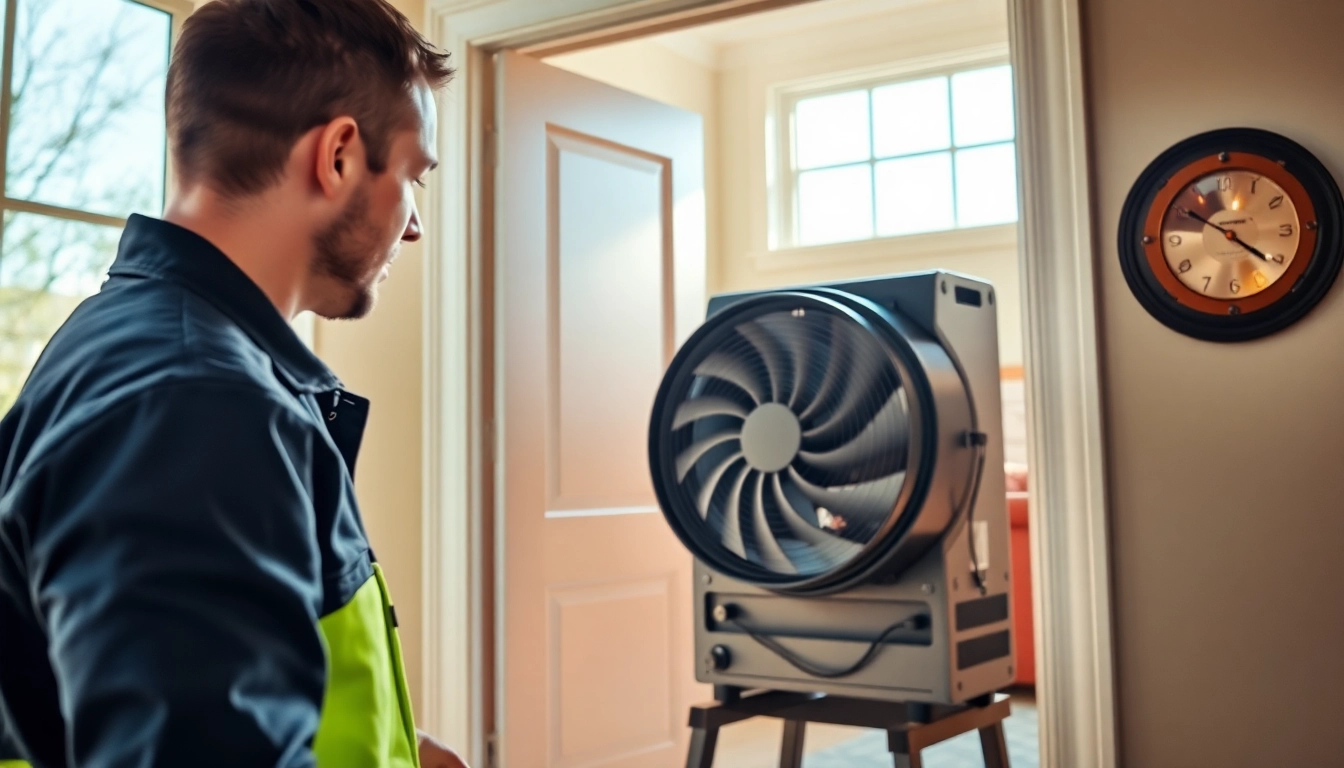
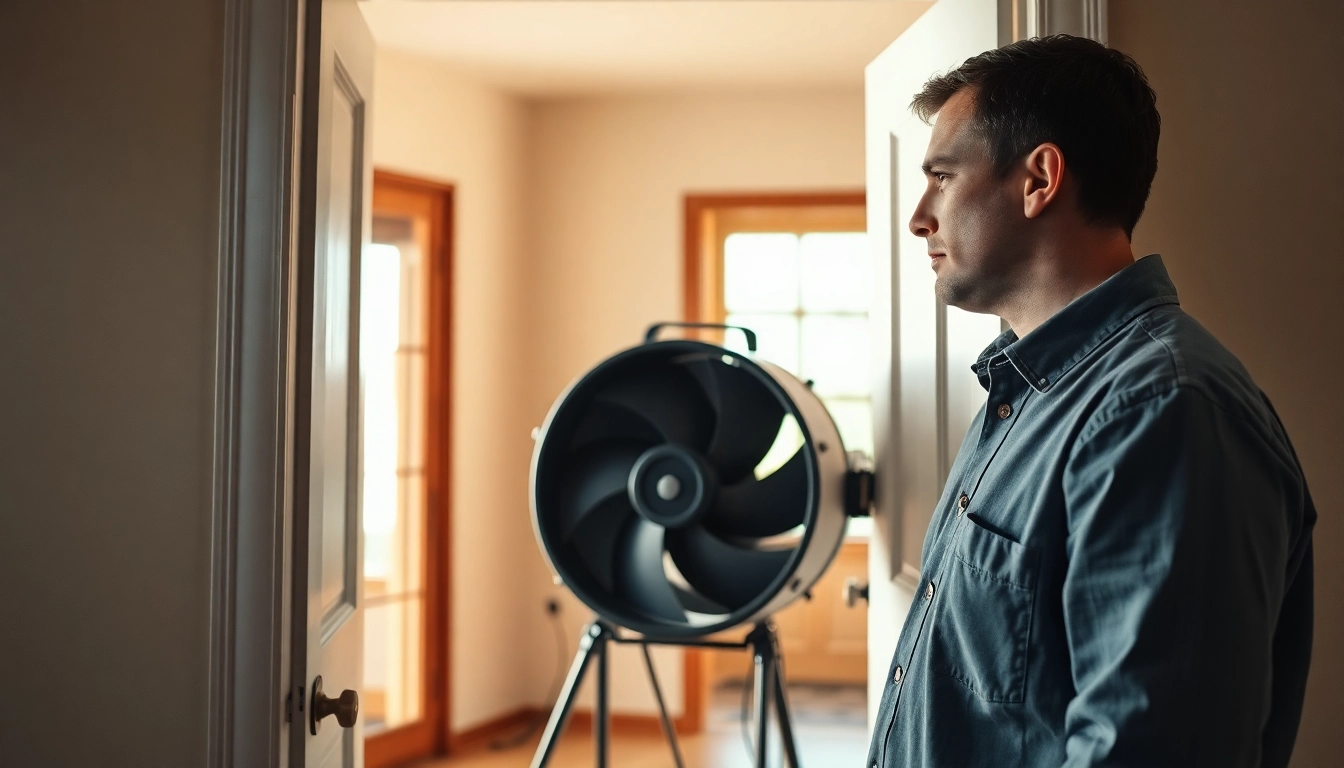
The blower door test involves mounting a powerful fan in an external doorway of the building. This fan either pressurizes or depressurizes the house to a specified pressure, typically 50 pascals. As this pressure is applied, the fan measures the airflow required to maintain that pressure. The resulting data quantify the air leakage rate, expressed in terms of air changes per hour (ACH) or cubic feet per minute (CFM). Understanding how air moves in and out of a building enables homeowners and professionals to identify problematic areas accurately.
Benefits of Testing
Conducting a blower door test offers numerous advantages:
- Energy Efficiency: By identifying air leaks, the test helps in crafting effective sealing strategies, significantly reducing heating and cooling costs.
- Improved Comfort: A well-sealed home maintains consistent temperatures and reduces drafts, leading to enhanced comfort for occupants.
- Indoor Air Quality: Minimizing unwanted air leaks reduces the entry of outdoor pollutants and allergens, promoting healthier indoor environments.
- Building Performance Verification: Testing is crucial for new construction or major renovations to ensure compliance with energy codes and performance standards.
- Longevity of Systems: Reducing energy demands can result in longer lifespan for HVAC systems, lowering maintenance and replacement costs.
Preparing for the Blower Door Test
Necessary Equipment
To conduct a blower door test, the following equipment is typically required:
- Blower Door Fan: A specialized fan is used to control airflow and create a pressure differential.
- Pressure Gauges: These measure the pressure difference between the inside and outside of the building.
- Calibration Equipment: Ensures accuracy in pressure readings and airflow measurements.
- Sealing Materials: Items like tape or foam might be utilized to seal openings that aren’t part of the test.
- Data Logger: This optional device records and analyzes the data collected during the test.
Steps to Prepare Your Home
Preparation is key to effective blower door testing. Here are some steps to ensure proper testing:
- Secure Windows and Doors: Close and lock all windows and exterior doors to prevent unintended air movement.
- Disable Exhaust Fans: Turn off bathroom and kitchen exhaust fans to avoid false readings.
- Seal Other Openings: Temporarily close dampers in fireplaces or ducts that lead outside, as these can cause air leaks.
- Communicate with the Tester: If a professional conducts the test, ensure any relevant information about building features is shared.
Common Misconceptions
Many myths surround the blower door test:
- Only New Homes Need Testing: In reality, existing homes often benefit significantly from identifying and sealing leaks.
- It Guarantees No Air Leaks: While effective, it doesn't eliminate air leaks but measures and helps address them.
- It’s a DIY Project: Proper testing requires expertise and equipment; hiring a professional ensures accurate results.
- Expensive Process: While there is a cost, the long-term savings in energy efficiency can offset the initial expense.
Conducting a Blower Door Test
Step-by-Step Process
The actual execution of a blower door test follows a structured approach:
- Preparation: Ensure all necessary equipment is set up and the building is prepared as previously discussed.
- Setup Fan: Install the blower door fan in the designated entry and check that the pressure gauge is functioning correctly.
- Conduct Baseline Measurements: Measure the natural air pressure before activating the fan to establish a baseline.
- Activate Fan: Turn on the fan to achieve the target pressure of 50 pascals.
- Monitor Data: Record the airflow required to maintain this pressure, noting any significant fluctuations.
- Final Analysis: Once completed, turn off the fan and recheck baseline measures to ensure consistency.
What to Expect During the Test
During the blower door test, you may notice:
- Changes in Airflow: You may feel drafts or notice differences in temperature as the pressure changes.
- Noise from the Equipment: The fan produces noise as it operates, which is normal during testing.
- Feedback from Data: The tester provides insights into any significant air leaks found during the process.
Measuring Air Leakage
Air leakage is quantified in several ways:
- Air Changes per Hour (ACH): Represents how many times the indoor air volume is replaced with outdoor air in an hour.
- Cubic Feet per Minute (CFM): Measures the specific volume of air escaping, providing numerically valuable data for remediation efforts.
- Ratio Comparisons: Identifying the ratio of leakage in relation to total area can assist in performance benchmarking.
Interpreting Blower Door Test Results
Understanding Pressure Differences
Pressure differences between indoors and outdoors during a blower door test reveal how airtight a structure is. A successful test shows lower CFM and an acceptable ACH that aligns with local building codes or energy efficiency standards. For residential buildings, a common target is 2-5 ACH, although this can vary based on home design.
Common Findings Explained
Several outcomes often arise from the blower door test:
- High Air Leakage Rates: Indicate major issues that need addressing, often involving insulation and sealing improvements.
- Localized Leaks: Specific areas identified can often be remedied easily, such as around windows or doors.
- Data Patterns: Patterns in air leakage can suggest underlying structural issues or installation errors that require professional attention.
Recommended Actions Based on Results
Depending on outcomes, several actions may be recommended:
- Improving Insulation: Ensure adequate insulation in attics, walls, and crawlspaces to minimize energy loss.
- Sealing Air Leaks: Use caulking, weather stripping, or spray foam to seal identified leaks.
- Regular Maintenance: Schedule follow-up tests periodically to maintain optimal performance and comfort.
Frequently Asked Questions about the Blower Door Test
When is a blower door test necessary?
A blower door test is essential for new constructions, major renovations, or homes seeking energy efficiency upgrades. It helps identify air leakage which can be rectified for better performance.
How much does a blower door test cost?
The cost of a blower door test typically ranges from $300 to $600, depending on the size of the building and the specific services included. These costs can be offset by the potential energy savings achieved.
Can I perform a blower door test myself?
While DIY options exist, professional testing ensures accuracy. Certified testers have the necessary equipment and expertise to provide reliable results and recommendations.
How often should I conduct a blower door test?
It is advised to conduct a blower door test every 3–5 years, especially after significant renovations, to ensure energy efficiency and indoor air quality remain optimal.
What are the implications of failing a blower door test?
A failed test indicates excessive air leakage, suggesting poor energy efficiency and potential indoor air quality issues. Addressing these leaks is essential to mitigate energy losses and improve comfort.